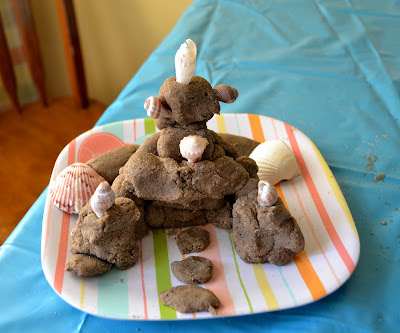
I'm just keeping it real for a minute. The kids love playing in the sand box, but the neighbor's cat has been pooping in it. Gross. I do thank that cat for the lack of rabbits in the garden this year, but that's just too much.


Since they can't use the sand box, we found another way to enjoy some sand castle making. I wrote about it last summer, we used the same recipe.
We had a tiny bit of clean sand in a bag in the garage and were able to use that.
Excuse me, she has to take a phone call.
Alright, back to work. Here's the recipe we used.
- 1 cup sand
- 1/2 cup cornstarch
- 1 teaspoon alum
- 3/4 cup water
- Shells (optional)
- Add the sand, cornstarch, and alum to a saucepan and use a wooden spoon to combine them completely.
-
Add the water and stir the mixture until it is smooth and the cornstarch
is dissolved.
-
Cook the clay over medium-low heat, stirring occasionally. The clay
should start to thicken within a minute or two. Stir more vigorously,
being sure to scrape the mixture from the sides and bottom of the pan.
- After about 3 minutes of cooking, the clay will have thickened to the consistency of play dough. Remove the clay from the pan. Once it's cool enough to touch, you can start sculpting. (For best results, use the clay within a day or two of mixing it.)
The kids had fun, they got to enjoy some sand play and we ended up with a pretty cool sand sculpture. They take just a day or two to dry and then dry really hard. They make for a great display.


1 comment:
This will be a fun reminder of the beach when it's too cold to go outside, thanks!
Post a Comment