Showing posts with label quilting. Show all posts

Monday, December 30, 2013

new quilt


I don't have a lot of time for quilting right now, but I've had this idea for a quilt combining traditional and modern fabrics. 


I bought a pack of fat quarters at a yard sale about 2 years ago and they've been sitting on my self the whole time.  They were traditional florals and birds.


I've also been thinking about something with chevrons.  


Right before Christmas break we had  3 snow days and a snow weekend and the quilt was born.   I started with the fat quarters and grabbed stuff I had on hand off my shelves and got started.  I quickly realized that I'd need to get to the fabric store and buy more fabric.  I ended up with more fabrics than I wanted to work with, but I had to.
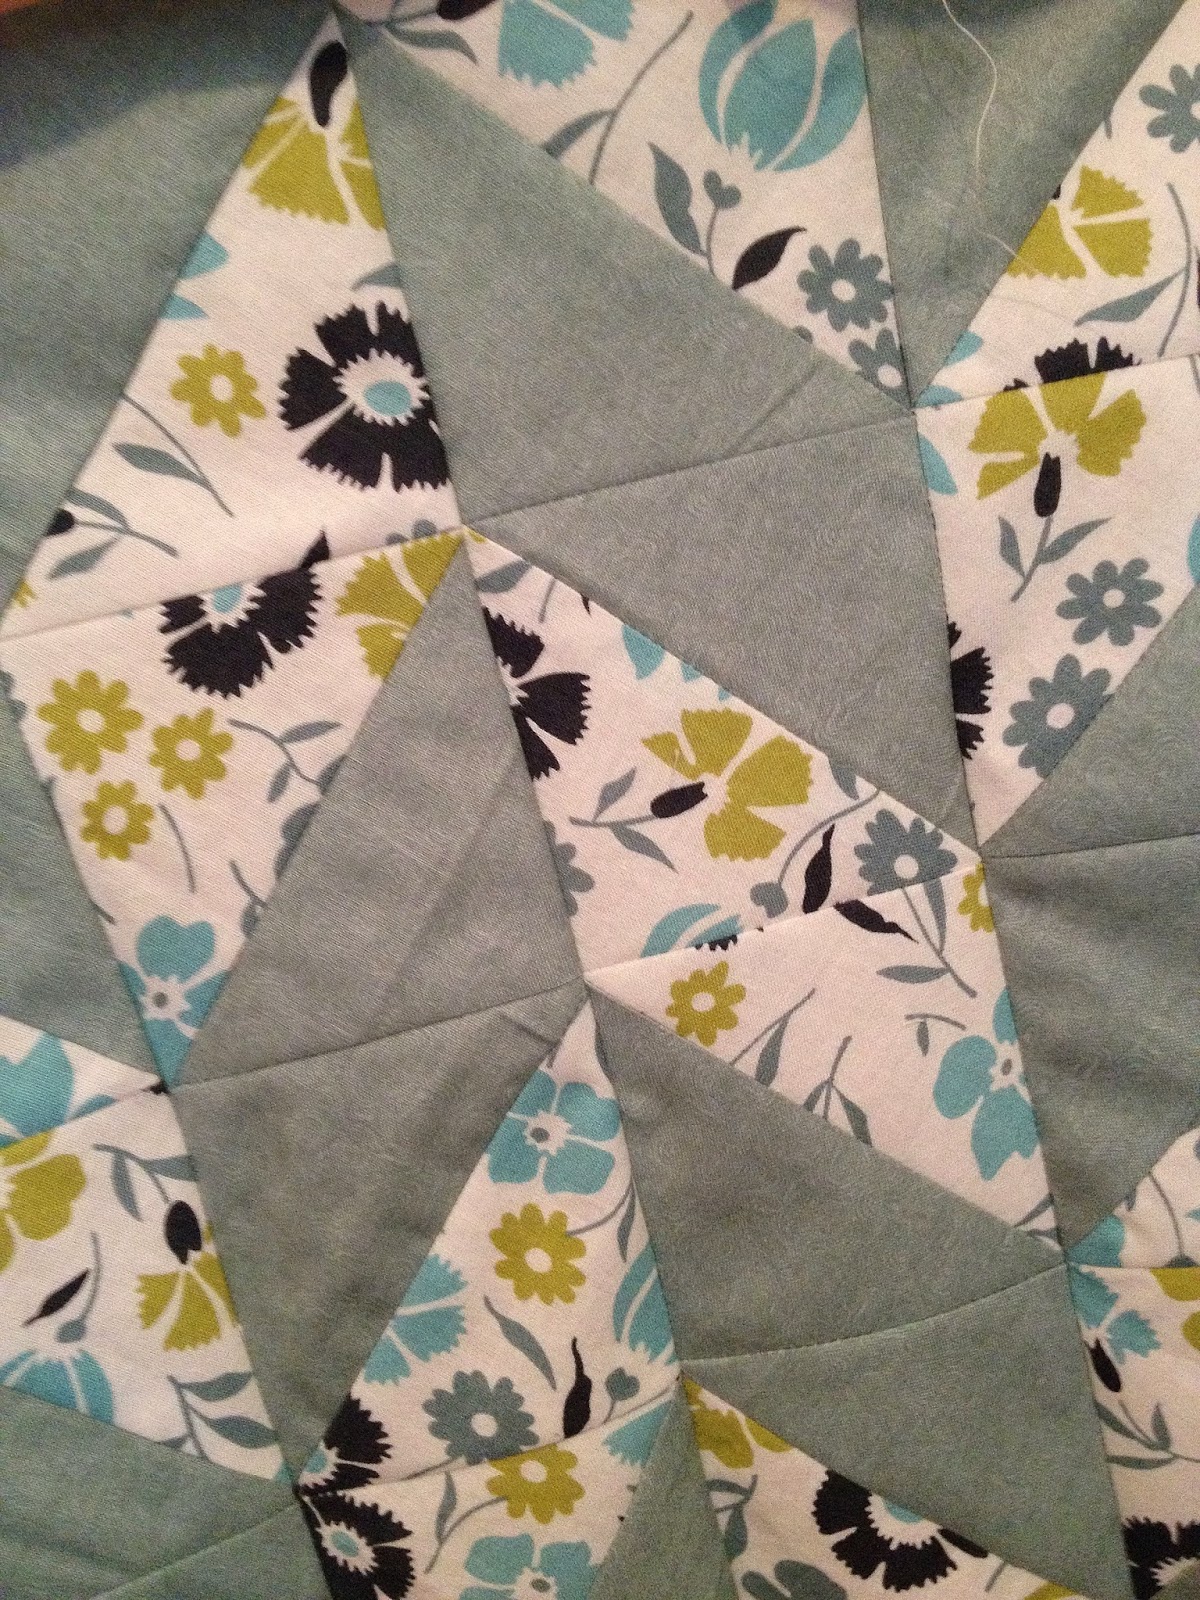

I haven't gotten to the fabrics that I think are going to be the nicest looking together, but I have several blocks done.
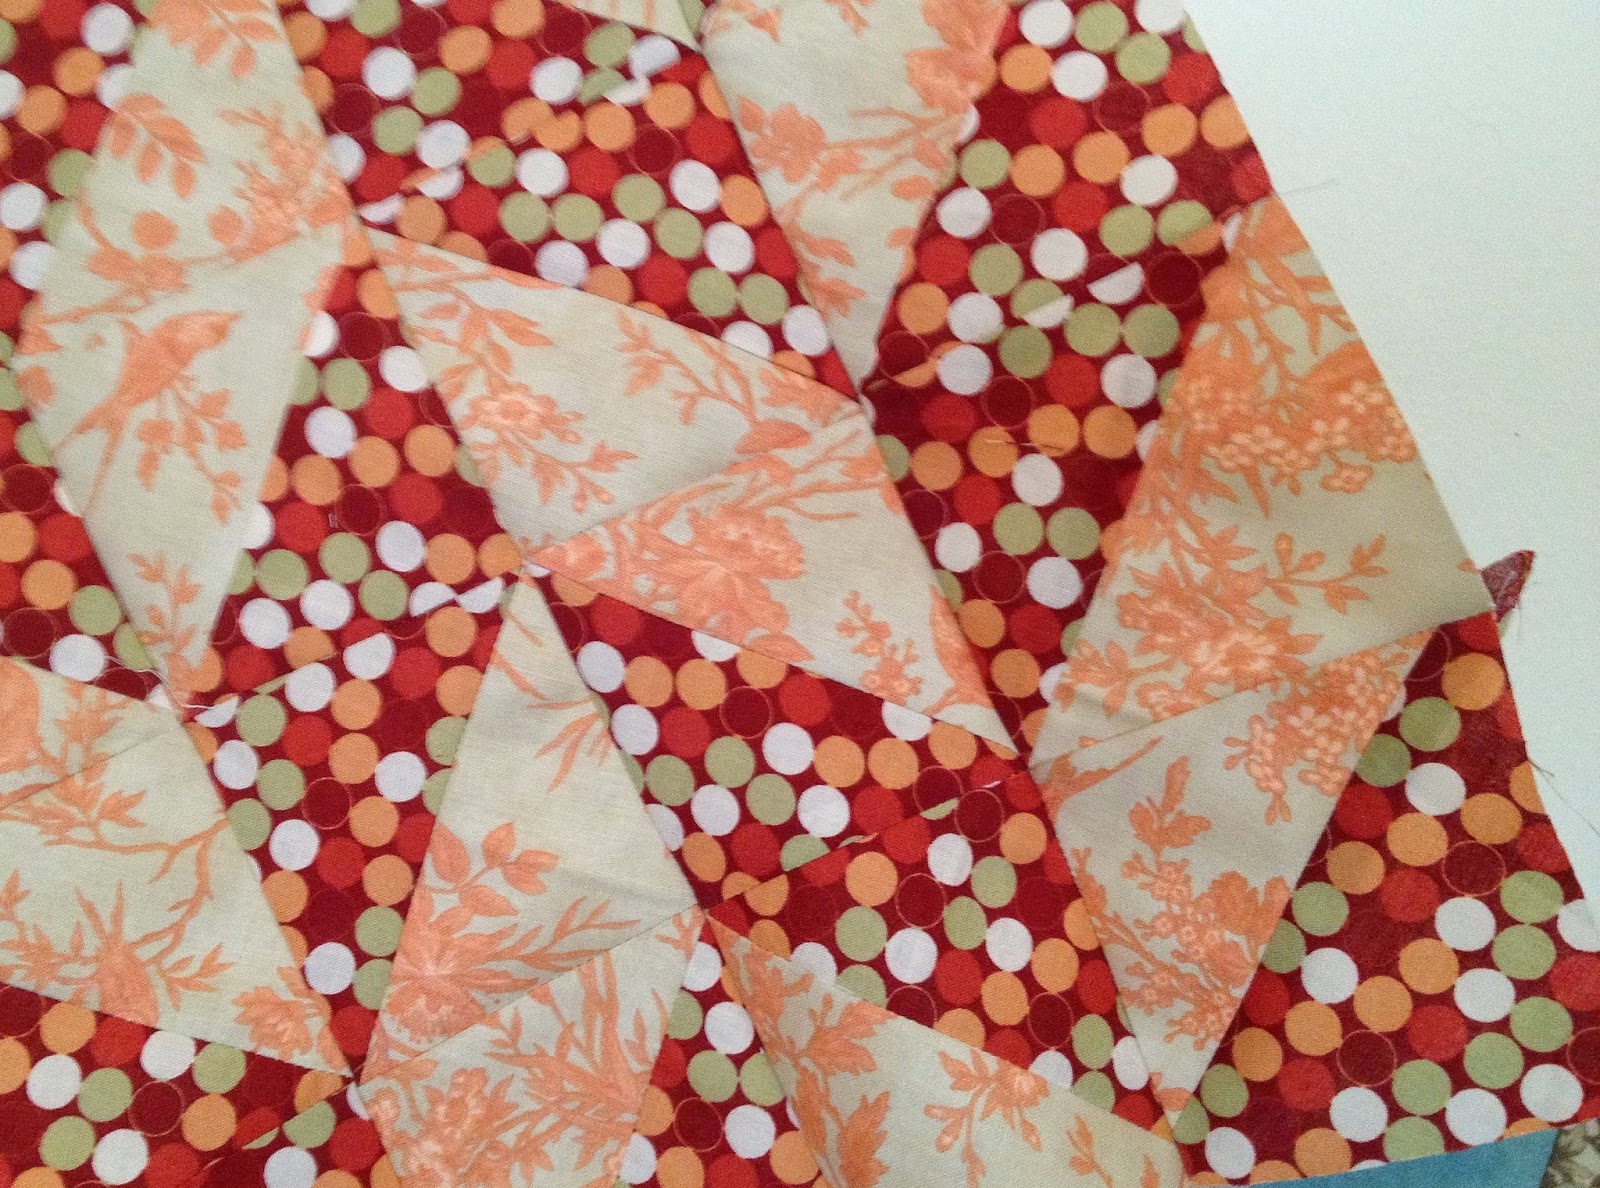

I think I'll have to stop at 4 blocks x 4 blocks. It won't be big enough for a bed, but will get plenty of cuddles on the couch.  I've got them all pinned on the sewing room wall just so I feel like I'm making progress.


Here's the quick directions for making these blocks. These triangles are super versatile and can be made into dozens of patterns.  

1.  I cut my fabric in 6 inch squares but you could do any size
2.  Put right sides together.  Sew around the edge a quarter inch in


3.  Cut the square from one corner to the opposite corner


4.  Then slice the opposite corners.


Now you have 4 triangles.


5.  Cut all the squares you need.  My blocks needed 4 of those 6 inch squares, which resulted in 16 triangles. (4 squares x cut in 4 triangles= 16)


6.  Iron open


7. Get all of them ironed and ready


8.  Arrange.  Pin in rows.


9.  Sew in rows.  Iron


10.  Sew the rows together.  Iron


I started to get a little nervous at first because it looked like the edges were going to out of whack.


But when you sew them in place, it all works out.


There are so many options for the triangles. 


I originally thought I'd go with a chevron, but it looked way to modern for some of he fabrics.  I also had a limited amount of each fabric so full stripes were out.


I messed around with several patterns. 

 
 Anyway, I'm going with this alternating chevron in pattern. 


The snow is gone.  I've got two days left of Christmas vacation so I'm going to sew as fast as I can and save the rest for Spring break. 

Wednesday, May 16, 2012

art show


The art show is going on at my church right now.  It goes down two hallways with artwork on all four sides of each wall set up.  There are some really cool pieces.  And some pieces I just don't understand.  At all. 


Here are my neighbors.  The theme was 'prodigal,'  based on the prodigal son story.  Each artist had to write up their own inspiration piece to have displayed with their artwork.  It was interpreted so many different ways. 


Anyway, I didn't list mine as 'for sale' like most everyone else because I didn't know what to put on it price wise.  What if I set the price too high and then make it look like I think it's so great or set it to low and then I under-judge the piece.  I just didn't know, so I'm going to keep it.  It was easier that way.  Some pieces are set at prices that I think, really?  really?  $800?   Anyway, I didn't do it for that.  It was a personal challenge.  I can't wait to hear what next years theme is.

Thursday, March 15, 2012

out of my hands

Well, it's out of my hands now. I just get to wait and see. I entered something in my church art show. Well, I applied to enter something. You have to apply and then they let you know a few weeks later if it's been accepted.   The show isn't until May though.


I entered this small quilt in the 'fiber' category.  The theme was 'prodigal' and my piece does have an inspiration statement that had to go with it, but I'll wait and see if it's accepted before I share it all.  If it's not accepted, then it was probably stupid and I'll be glad only some unknown committee saw it.   I had to title it too, but I think it sounds silly, so we'll keep that a secret for now too.


I wanted to enter the art show last year, but I was too unsure about doing it.  But, as the kids and I walked around the art show for the 22nd time last year (they loved it), I decided that I would just go for it this year.  I've been keeping this pattern in mind for several months, not sure what I wanted to do with it.  When the theme was announced this winter, I knew right away it's the one I wanted to work with.  I saw this 'spider web' pattern on Sew Mama Sew, although I'm calling it a star pattern.

Tuesday, December 20, 2011

christmas potholders

At Thanksgiving I gave my sister a little pre-hosting hostest gift. She is hosting us at Christmas this year, but we are really going up after Christmas, so I thought she'd like her gift early so she gets a bit more use out of it.  She liked the potholders and thought they'd make a nice gift for a few people on her list. 

They are on their way to her, but I thought I'd go ahead and share them so she can see them.  


6 extra large pot holders (that's how I like them) in three sets of two.  She asked for red with white dots and a light sage green worked in.  The sage doesn't look like it matches, but I think it looks better in person.  I like how how blue got in there too.


Potholders like this make up pretty quickly, It's the binding that takes awhile.  I tried using store bought binding, but that didn't look nice and I tried machine sewing the binding, but that also didn't look nice.  I went back to doing it by hand and just carried one in my purse pretty much everywhere I went for a week.  People that I see regularly kept saying, "Are you still working on that?" 


Not working on it anymore!  It's shipped and I'm getting to do some sewing for myself this week!

Here's her set:


Friday, December 2, 2011

table runner and such

A road trip to my Grandma's meant sewing projects in the car for me. I so enjoy a long car trip now that I've found a great way to pass the time. Plus, the kids don't usually have to stop every 40 minutes anymore. That probably makes the biggest difference. 


I finished up the binding on this table runner for my sister.  She's hosting Christmas this year at her house.   It's her first year to do that and I figured she needed a little Christmas decor. 


I'm spreading Christmas cheer without singing loud and clear.  We all prefer it that way.  The runner is just pieces of Christmas fabric sewn together and layered with a piece of flannel and the back piece.  I stitched in the ditch on the top to quilt it.  The binding was added like I use for quilts, which is probably not the most responsible way to do it time management wise.  I should learn to use store bought binding better.


The pot holders are made the same way except instead of flannel, I used two layers of thinsulate inside. 

I also had a few yarn projects in the car, those will have to wait until tomorrow. 

Wednesday, September 7, 2011

quilt is done! Now I can watch Glee again.

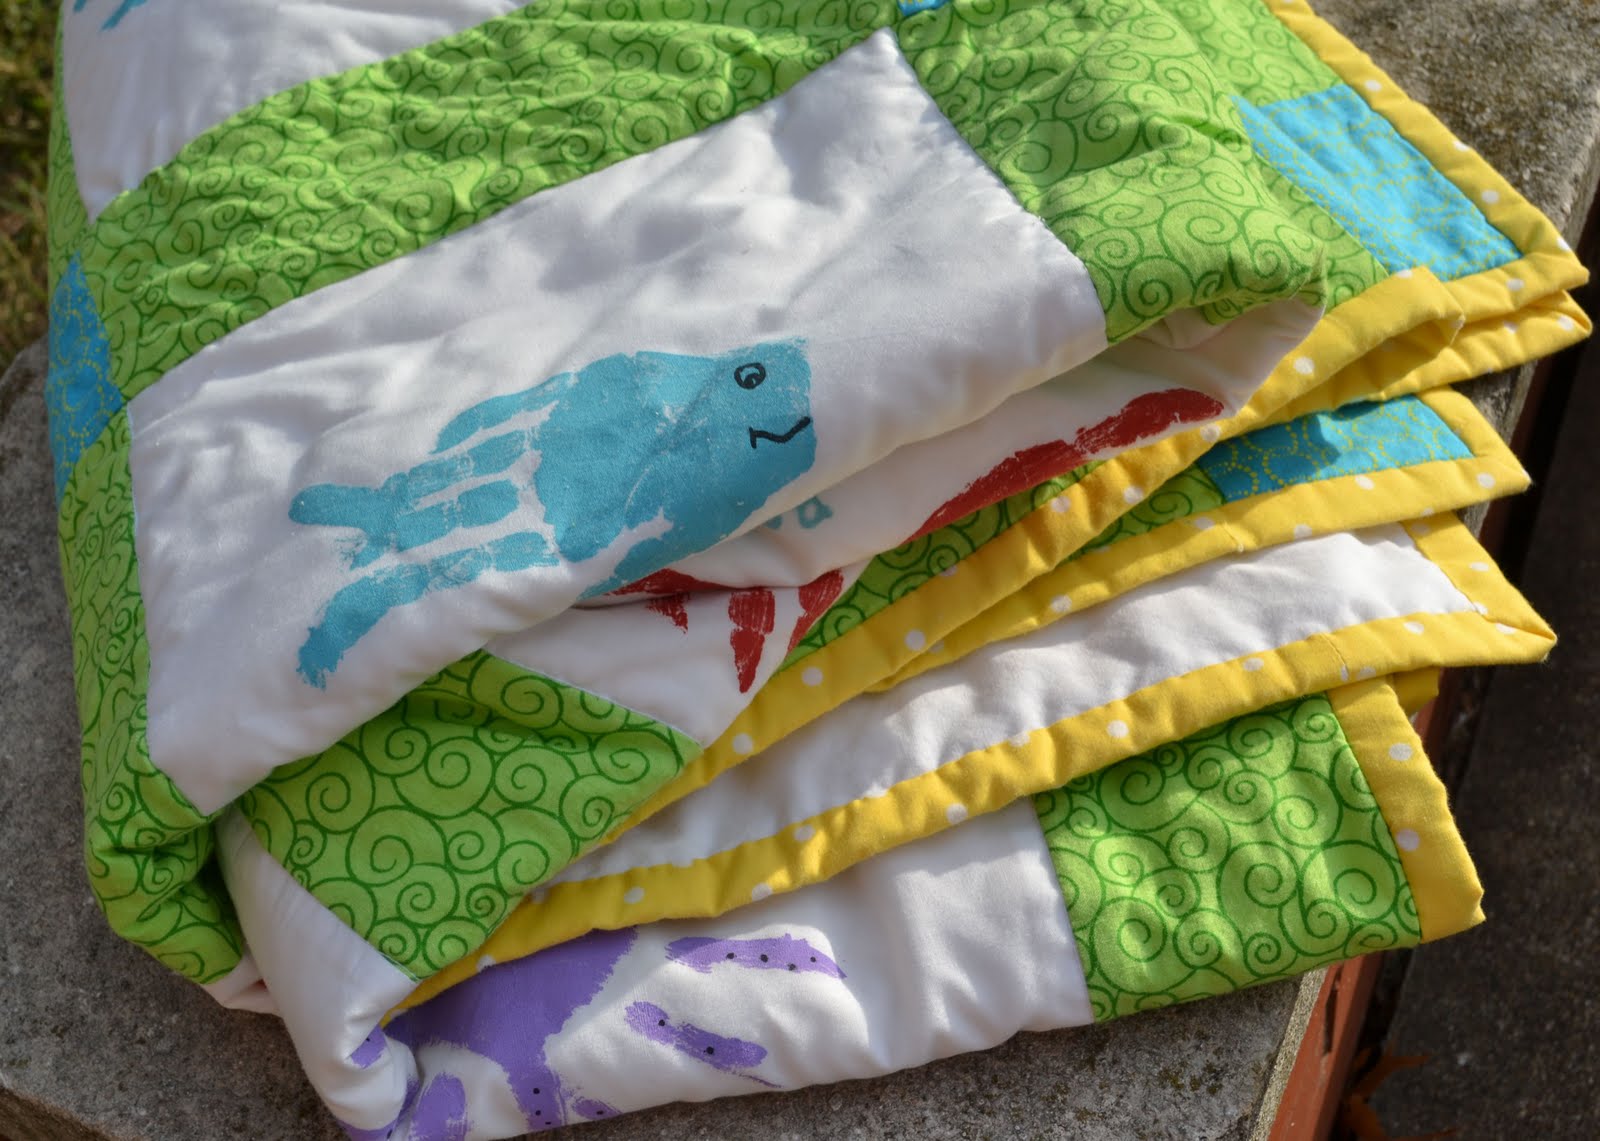
Yeah, seriously, I wouldn't let myself go to the library and check out any past episodes until it was done...I'm a slave driver.    It's all done!  I submitted the online form for it to be added to the school's auction at the end of the month and I'm sending it to school with Bee tomorrow.  I'm just pretty much glad to have it done. 


It really came together pretty quickly, especially considering how BIG it turned out to be.   If I remember right, it's like 55x66.  There are 17 kids in her class (lucky teacher!) and the teacher added her hand print as well.  I needed two extra squares to fill in all the boxes, so I just used some extra fabric and made little 'log cabin' squares to fill in.    Here's a previous post about it that talks a little more about the construction.


Bee took these pictures for me.  That frustrates Lou.  I've tried to let him, he's just not ready to play with the good camera.


The idea for this quilt came from this sweet one I saw at Helping Little Hands.


Sharing here:

Made by You Mondays @ Skip to my Lou,


Tutorial Tuesdays @ Hope Studios,   Anti-procrastination Tuesdays @ New Nostalgia, Talented Tuesdays @ My Frugal Family,  Get Your Craft on Tuesday @ Life as Lori,


Tooth Your Horn Wednesdays@ Silly Little Sparrow,  Whatever Goes Wednesday @ Someday Crafts,  Show and Tell Wednesday @ Blue Cricket Design, We did it Wednesday @ Sew Much Ado


Strut Your Stuff Thursday @ Somewhat Simple,   Look at me, I'm so crafty @ It's fun to craft, Show off your Stuff @ Fireflies and Jellybeans, Catch a Glimpse Thursday @ A Glimpse Inside, Open House Party Thursdays @ No Minimalist Here,


Feature Yourself Fridays @ Fingerprints on the fridge,  Fantabulous Fridays @ Momma's kinda crafty,  Fridays I'm crafty Party @ So You Think You're Crafty,  Fibers on Friday @ Visions of Sugar Plums,  Christmas in July Fridays @ Just Another day in Paradise,  Fabric Fun Fridays @ Cheap Chic Home,  Creative Girl fridays @ The Girl Creative,


Wednesday's A story + art = A Great stART  @ A Mommy's adventures,   Made by Little Hands Mondays @ delicate CONSTRUCTION Wednesday's Kids Get Crafty @ Red Teg Art's Blog, Tuesday's Show and Tell blog hop ad ABC and 123, 
Tot Tuesdays at Delicious AmbiguityFor the Kids Fridays @ Sun Scholars

Saturday, September 3, 2011

class quilt

The squares were returned for the class quilt.  Another happy parent volunteer helped the kids stamp their hands in ocean animal shapes and I added eyeballs, bubble, fish lips, etc.  I heat set the paint with the iron and hope that they will survive the wash.  I have a test square to wash this weekend.


The quilt top is done.  It really came together so quickly.  The white hand print areas are 10 inches squared and the strips are 4 inches wide (green is 4x10 and blue is 4x4). If I had to do it again, I'd go about 2 1/2 rather than 4 to make the overall quilt smaller.  It's turning out bigger than I had though. 


Here's Bee's silly little crab.  She's the only one with green seaweed.  I'm sure it would have been more time consuming for the volunteer to have kids wash and paint again.  Bee must have asked nicely.  She has a way of getting what she wants.


Entering this long weekend, the front and back are both done and pinned together in a quilt and batting sandwich.  This weekend I hope to get it quilted and the binding sewn on the front. I'll hand sewn the binding on the back then through next week.  I'm figuring 3 hours for the quilting and 8 for the binding.  I hope to have it done and pictures on the school auction website by next weekend.

Friday, June 24, 2011

Class Quilt

I just found this sweet idea this morning.  This class quilt from Helping Little Hands would make such a lovely class project for Bee's class next year.  Her school has a silent auction each fall where in addition to really awesome things like vacation packages and such are won, the classes each auction a group art project.  I wonder if I could get this put together in enough time.  


 Do you think her teacher would be overwhelmed if I emailed her in June about a large project we could get started the first week of school? 

Tuesday, April 5, 2011

paper piecing


Here's the previously mentioned project that I started over Spring break.  It made for a great car project.  As the passenger. Drivers should probably not attempt.  It's the project that I turned to on the long drive home when all my hats started being crazy sized.   I just recently learned about English paper piecing.  I was warned it was addictive.  It is.

Please note:  my training in this art is brief and consist of three you tube videos.  You start with cut out pieces of paper.  I used hexagons, but diamonds and triangles and other odd shapes seem possible too.


You rough cut a piece of fabric about 1/2 inch  bigger (all the way around) than your paper piece.


Using a contrasting color of thread,  baste the fabric around the paper piece. Big stitches can be used as long as it holds the fabric in place.


Fold the edges as you go and keep basting.


You can see the thread better in this picture.

When you have a bunch of them, you can lay them out and move them around to see how it's all going to fit together.  I only chose 6 fabrics, if I had been home, I would have added a few fabrics from my own stash in addition to the fat quarters I bought, so I would have had at least 8 or 9.


When you are ready to start attaching them together, hold two pieces right sides together.  You'll want to whipstitch in a coordinating thread color.  Stitches should be tiny and close to the edge so that you aren't really working in the paper at all.


When you go on to attach another, you'll need to fold any existing pieces so you have get the right edges together.  This previous sentence made little sense.


When you get a piece totally surrounded, you can clip out the basting stitches.


At this point, the paper piece should pop out the back.


Then you'll have several together and you can keep plugging them in where you need them.


Here's what the back looks like. 


I thought I was making a table runner, then I decided a small quilt, now I'm not sure.  No doll deserves something this detailed.  I didn't buy enough of the fabrics to make it too big.  When I'm at home, I've been too busy to get it out.  It may just be for car rides and might take me a whole year.  

I am not sure how I'll finish the outside edges yet.  There seem to be a number of methods for this.  We can learn together.  Sometime next year.