Wednesday, February 15, 2012

Rr rainbow day- preschool style

Rr Rainbow day was the middle of the winter so we didn't have sunshine, let alone a rainbow.  I didn't  get a chance to get to everything I had ready.  I didn't even get a chance to read either book I had ready.  It was math day, so we focused on some some fun math activities.  What Makes a Rainbow is a little bit of a little kid book, but it's cute. 


Then we did some addition practice with partners. We talked about what two things God uses to make a rainbow- rain and sun.  I paired the kids up specifically with partners that would complement them.  One partner was the rain drops (blue glass beads) and the other was the sun (yellow/orange pom poms).  I had several sentence strips ready with different addition problems.  We went through them very slowly, first having the rain drop friend add the correct number of raindrops, then having the sunshine friend check,  then the sunshine friend added the correct number of sun-rays and then the raindrop friend checked their work. Then we added the pieces all together and decided on an answer. I filled in the answers as we came up with them.  This was a fun activity and really could be used with many levels.  We are very much at the 'intro' to math facts level. 

  Then, we played a rainbow number bingo.  A few weeks ago we did some informal early assessments with the kids and checked their ability to recognize different numbers and letters.  I used that information to see which numbers each child needed to work on.  I made each child's sheet with the numbers they needed.  Overall, I ended up with 24 different colors/numbers to use on the sheets.  A child that needed to work on 4, say got a few 4s on their paper in a few colors.  None of our friends were not able to recognize the number 1, so I simply didn't include it.  A child that got them all right simply got an assortment of the larger numbers.  If I was doing this activity with a much smaller number I could have had them help program their own sheets prior to playing.  This would have let us practice the skill (number recognition) twice. 

We also worked on this activity with partners.  I paired them up with partners paying attention to make sure each group had a partner who could write bigger numbers.   The kids took their sheet and a cup of skittles (for touching, not eating) and worked somewhere around the room.  They laid the skittles out on the different bands of the rainbow, then counted, and recorded the number.  Of course I gave them a few clean ones to eat later. 


We didn't have time to get to this rainbow rhymes activity, but I'm saving it and hope to get to it another day.   It's a class book based on an idea in a Mailbox magazine.
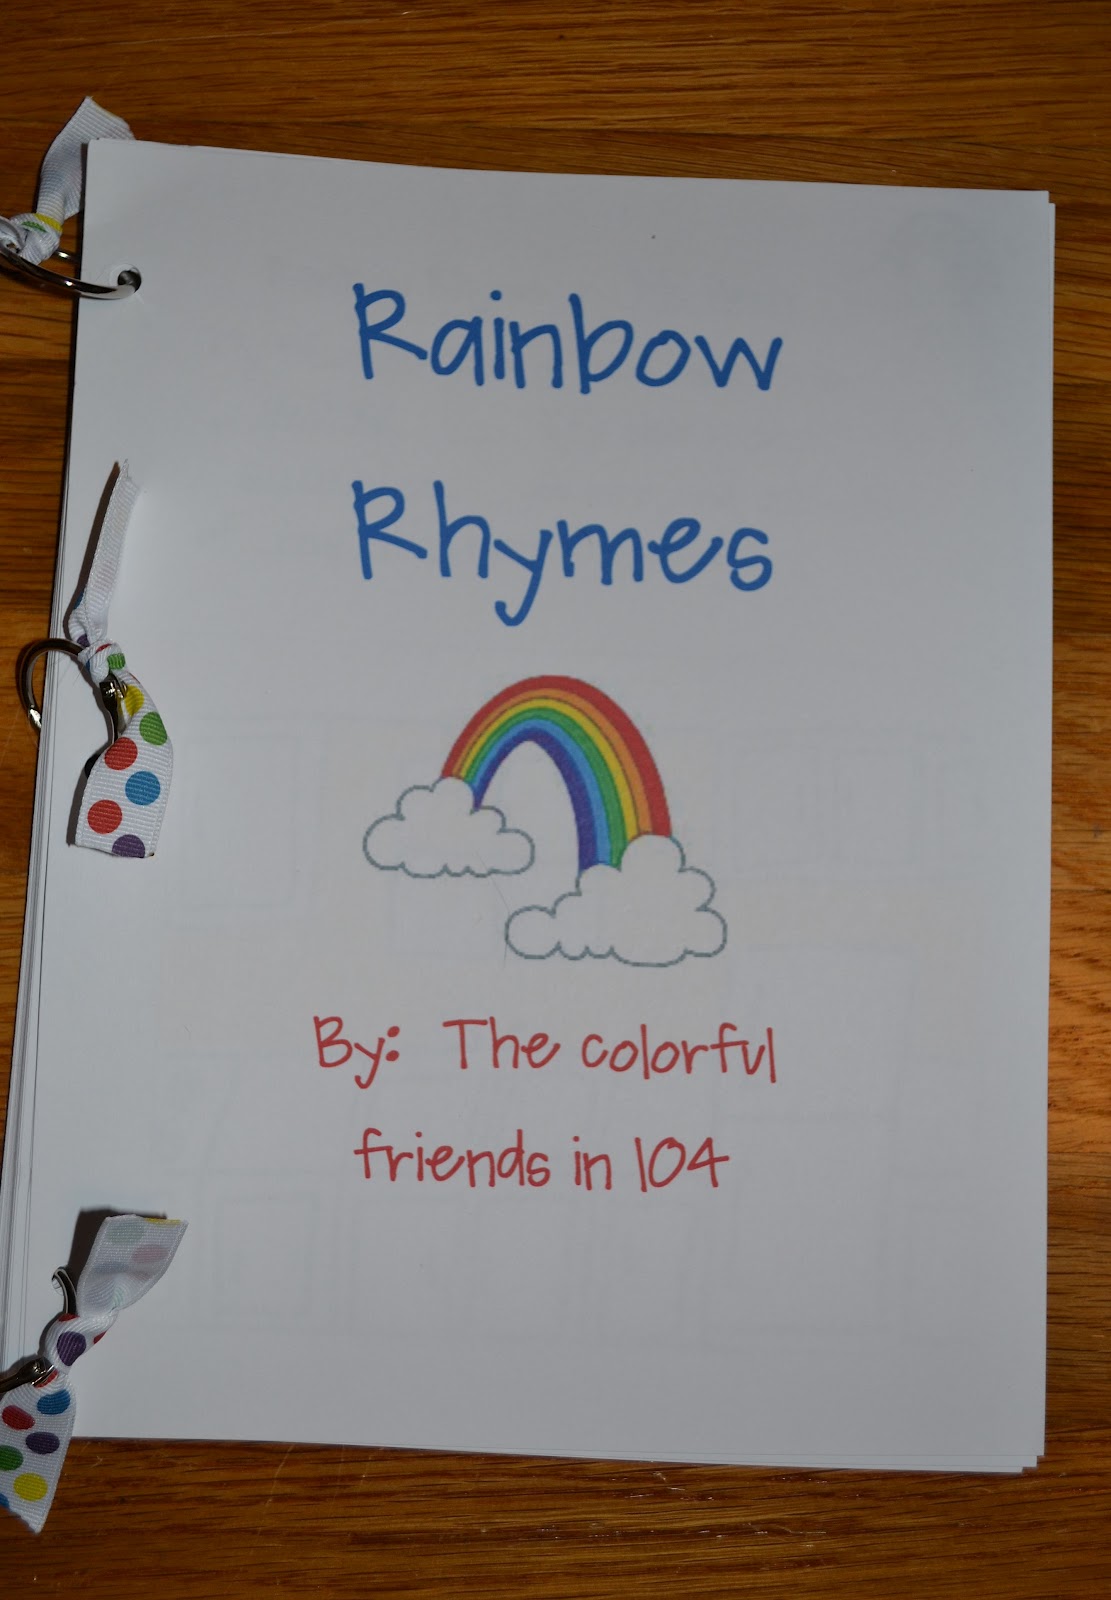

The inside reads, "Rainbow Rhyme by ______.   My favorite color of the rainbow is ______.  It's the color of ____, you see, and the color of ______.  Yippee!"   I was planning to help them complete the written part and have them draw and color an appropriate picture to match.   I love yellow, and all kitchens should be yellow.


We also signed and sang along to Signing Times, Colors of the Rainbow.  It's from the series Signing Times, which is what we used with out own kids when we were signing a lot.  In the song they name the colors (switching blue and purple for rhyming reasons) and list an item or two that was that color.  First, I said how they were switching the colors in the song (and switched them on my paper rainbow on the flannel board), then we practiced all the signed we would be using. Finally, we sang along with the song.


I brought Bee's rainbow prism along, but there wasn't a bit of sunshine.  I didn't even get it out.


I set out this 'roses' on shapes activity for a few friends to work on at arrival time.   I don't think anyone played with this, but I had picked up a package of clearance roses for 10 cents and wanted to use them.


Last year I did some other things on a rainbow day with the younger class, but I apparently didn't get it posted here, because I can't find it anywhere.  I'll have to search for it later.

Tuesday, February 14, 2012

where have you been?

I don't know how I've lived my whole life without an apple peeler.  I got it for my birthday and it's going to make my applesauce and dried apple days a whole lot better!


 It peels, cores, and slices in a spiral. Brilliant!  Lou grabbed up the peel that came off in one long string, ran off with it, and ate it.  Man, I don't know how I've lived so long without this!

Sunday, February 12, 2012

canning beans, in a little more detail

I sometimes hear from readers with questions about something I have posted. Probably the
 questions I get most are about canning. Honestly, I've only been canning about three years, so I don't have all the answers.  I have canned though a number of different things and am several hundreds of jars into this, so I do have a little I can share about the process.   (Here's a link to all my canning posts)  As with most new things I dive into, I've really read up on it, both in books and sources online too.   That disclaimer aside, I'd thought in this 'off season' of canning I'd share my winter canning- dried beans.  They are easy and excellent for a beginner, although they do use a pressure caner, which is admittedly scary at first.


You can can about any dried bean.  I get mine from the food co-op in town.  They sell dry goods in bulk at great prices.  I can get dried organic black beans for $1.62 a pound, which I think is close to what you can get a sack of 1/2 pound of non organic beans for at the grocery store.  I like canning beans because you get the convenience of canned beans but the budget savings of dried beans.  It's always great also to know exactly what is in your jar/can of food.  They are delish too, so that's a plus.


So, it's easy, like I said.

1.  To get started, you need to clean your jars.  If I'm pressure canning (beans, meats, vegetables) then, I just wash my jars and lids in hot soapy water.  If I am using the water bath method (fruits, jellys, jams, etc) then I boil the items to sanitize them. 


2.  Set out all of your supplies.  Some canning is a fast paced process, beans not so much.  Your jars will need lids and rings.  I always always use new lids, rings can be used a million times.  I also sometimes use reusable  tattler lids, but that's for another post.


3.  You will need a pot of water boiling on the stove to add to the jars in a few steps.


4.  I also go ahead and get the canner started.  Follow the directions for your particular canner.  Mine is 33 years old and was purchased by my mother in law along with a watermelon.  We have the original receipt still in the box.  Mine calls for two inches of water.  I go ahead and turn the heat on and get this warmed up- without the lid.


5.  On to the beans....  Rinse dried beans in water. 


6. Pick out any funky ones.  They look a little like raisins.  I don't really want to eat those. 


7.  I only can beans in pint jars, because that's what works for us.  Each pint jar gets 2/3 cups of dried (rinsed, so they are damp) beans.  I don't level off the cup, it's usually a little rounded on top. 


8.  optional:  add 1/4 teaspoon salt.  I usually just add a sprinkle of salt, not even the full 1/4 t.   (that little jar is my salt shaker... it almost looks like I'm really adding an inch of salt to a jar!)


9.  When you have all your jars measured out, it's time to add the water.  My canner holds 7 jars, I think that's probably a standard number.  I am canning black beans and white navy beans.  One jar is even mixed because I had a little left over of each.  I guess it can go in soup some time.


10.  Add boiling water slowly leaving 1 inch of room at the top.  I say add slowly because I like to give the water time to get in and around all the beans.


I usually tap the jar gently to get rid of any air pockets. 1 inch from the top, means, 1 inch from the very tip top of the opening of the jar.


11.  Wipe the rim with a dry cloth. 


12.  Add clean, dry lid. 


13. Add ring.  tighten a bit, not too tight, not wobbly loose either.


14.  Set it in your canner. Get the others ready.


The black beans always make the water a funny black/blue color.


The white beans don't seem to do that at all. 


15. When all the jars are ready to go, put the lid on the top and fasten securely.


16.  Add the weight thingy, if your canner has one.  I think new ones do something different. Turn the heat on as per your directions.  I know about how hot my burner needs to be to get the weighty thing to jiggle.  Beans go for 10 pounds for 75 minutes. 


For my canner, that's 75 minutes after the jiggling starts.


17.  When the 75 minutes are over, remove from heat.  But for the love of all things wonderful, don't open it. Don't try to open it.  I think most have a safety feature so your can't open it.  Wait until it's cooled off and the safety latch releases.  Mine is at least an hour.  Then, remove your jars.  When the jars are all cooled off, another few hours, check the lids to make sure everything sealed properly.  You do not have to store the jars with the rings on, so go ahead and remove those.  If one didn't seal (it happens occasionally) put it in the fridge and use in the next few days.  It is likely that your jar has a tiny chip on the top. 


This is a happy sound in my kitchen.  It means the hard part is over and something lovely and canned is about to be ready. 

Saturday, February 11, 2012

Pp popcorn day- preschool style

Another fun themed day, popcorn!  Also, could this school year be going any faster?  Already on the letter P?  Goodness, Bee and Lou are going to be in high school in like five seconds.

So first we talked about how popcorn grows, different ways to pop it (microwave was the popular vote).  We looked at this ear of popcorn.  We talked about how the Native Americans (which, by the way, are we saying 'Indian' again?  Seems like I'm hearing it that way.) would pop the popcorn in the ground in a jar with hot coals surrounding it or they would put an ear on a stick and pop it right on the ear over an open fire.


The kids wanted to see the ear I brought in popped.  So, later we did.  We stuck it in a paper bag and put it in the microwave.  They were tickeled to see what it did.  This picture is after the class picked off of it.  The paper bag was half full of popcorn too. 


I was disappointed with the selections for popcorn related books. If someone has a better one, I'd love to hear about it. I settled for this book, Popcorn by Alex Moran which is an easy reader so it's super short. It's not a bad book, I was just looking for something different. I dragged it out a bit and talked about the pictures some. 


Then we did some taste testing.  I brought in store bought pre-popped popcorn in three flavors.  I had a little cup with each flavor in it.  Each child dumped their cup out on a paper towel.  We sorted out the colors and I told them what each was.  We tasted each flavor separately.  We had cheese, caramel and butter. I asked the kids to choose which was their favorite.  We used a set of pictures of each child that we use for attendance to make a graph.  They took turns and placed their photo next to the flavor (my colored paper popcorn pieces represented the flavors) they liked best.  I think we had 12 friends like cheese best and 3 or 4 like the other two each.  All of this velcroed to our flannel board. 


Then we played this 'roll a popcorn' game.I made a grid sheet for each child and we rolled the dice.  I made up a 'fast' dice with big numbers and we had a dice with smaller numbers.  I wanted to be able to speed up the game if needed.  


Honestly, the kids were all over the place with their counting as we tried to color in, say, 7 squares (yellow for butter, orange for cheese or brown for caramel).  We all ended at different points.  Oh well.


Bee and Lou always do a test run of games for me and somethings they find staying with the group easier than my other little people.   They actually decided to play separately and race each other.


Wait, Lou in funny glasses, we must see more of this. 

We also danced to Laurie Berkner's song Popcorn Calling Me.  It's a fun one.  The chorus has you sizzle sizzle sizzle (repeated) then POP, pop, pop.  I not very good about making up 'dance moves' to kiddo songs, but this song lent itself to some good popcorn like dancing easily.

I think I've gotten things out of order now, but at some point, we played a Pp puddle game too.   I had cut out felt puddles and sloppily stitched on numbers 1-15.  I laid them around the room and had the kids jump from puddle to puddle while I played some rain music I got on itunes.  It was one of those 'nature sounds' songs.  When the music stopped, they had to get to a puddle, look at their number, confirm with any buddies also on the number what the number was and be ready for me.  


Then I called out a handful of numbers each time to 'start the rain again.'  Friends on those numbered puddles clapped on their legs, or rubber their hands together, or snapped their fingers to make rain sounds.  Then I started the rain music back up. We played this several times.  Everyone enjoyed it.  I may figure out a way to rework this for umbrella day.   This worked really well at home too.  I was able to stop the music on numbers I knew Lou needed to practice. I'm tricky like that. 


Here the craft from the day.  Pp popcorn on a letter purple P. Looks like Lou's glue is still wet. 


Here are a few things I set out for arrival time and dismissal time.  These letter cards make up pretty quickly, but I won't make many more sets.  The kids just don't work with them.  Lou will at home sometimes, but  will never choose it on his own. 


Here are the words from the bible verse to put in order.  It's such a short verse that it wasn't too hard for anyone.


This was a favorite for us at home and several groups of kids played memory with these purple popsicles during preschool too.  Thankfully they were well played with , because they turned out to be a good bit of work to make.


I just printed out Pp word pictures (2 of each) and glued them to purple paper popsicle shapes.  Each stick had a front and a back piece.  I hot glued these around a popsicle stick stick, after cutting out the purple shapes, laminating, and re-cutting.  


Then you lay them out 'memory match' style and start matching.  This idea is based off of an idea I saw at Eat Drink Chic (which I found via Pinterest).


Our leader brought popcorn for snack and there was a lot of vacuuming to do after class.  We didn't eat too much popcorn because Lou and I went home and made kettle corn for a snack after lunch.   All that popcorn talk all morning,  I couldn't get it out of my mind.

Friday, February 10, 2012

Carbo loading- scones and rolls

Christmas.  That's how old this post is.  Rather, that's how long it's been sitting in my stash half done.   Anyway,  February is as good a time as any to eat.  

Holidays and family getting together is such an excuse to carbo load!  I tried two new bread-y treats this Christmas and both are winners for sure!

When we had farm day recently, the family served us delicious white chocolate chip scones.   She told me it was basically a biscuit recipe with chips rolled out differently.  I looked at my biscuit recipe but doubted they would turn out the same. I was looking for a buttery taste but a little dryer and denser than a biscuit. 


I searched around online and all the scone recipes and videos had pretty much the same recipe for scones, which was basically a biscuit recipe.  Here's what I went with and we devoured them.  Hubby said they were better than the ones we were served on farm day, so either 1.  He's a smart boy or 2. these really were pretty good.  I think it was a combination.  

Here's the recipe I went with: 
White Chocolate Chip Scones
Preheat oven to 400 degrees. 
2 c flour
1/4 c sugar
1 1/4 t baking powder
1/4 t baking soda
1/4 t salt
Whisk these dry ingredients together. 
Add in 1/2 c cold (unsalted) butter.  I used my pastry cutter to cut it into pea sized pieces.
Add 1/2 c chocolate chips... who are we kidding... add more than that, then eat the rest of the bag while these are baking. 
Add 3/4 c buttermilk and 1 t vanilla
mix briefly and roll out on a floured surface. Roll to about 1/2 inch thick or so in a circle and cut triangular like a pizza.  Bake for 15-20 minutes at 400 degrees. 


Now, I thought I had a good recipe until I tasted Lou's teacher's recipe at the teacher Christmas party.  These rolls are super duper.  They are light and airy and buttery and sweet.  They are pretty much the roll that they served us in highschool on chicken noodle day- which was the day at school when everyone ate school lunch.  


Lou's teacher said I could share the recipe.  I thought I'd have to beg- but she's cool like that and offered no resistance.  Here is exactly what she emailed me:

Easy Refrigerator Rolls (Evelyn’s Rolls)

2 cups water
3/4 cup butter
3/4 cup sugar
2 eggs
2 pkg. yeast
1 TB salt
6 cups flour

  Combine sugar, yeast, salt & 2 cups flour in a mixing bowl.  Heat water & butter until warm.   Add to dry ingredients & beat at medium speed for 2 minutes, scraping bowl occasionally.   Add 1 cup flour & 2 eggs.  Beat at high speed for 2 minutes.  Stir in remaining flour to make soft dough.  Place dough in refrigerator and use as needed.

  The dough needs to be in the refrigerator at least overnight.  It will be rather sticky, so use flour on  your hands to help in shaping.  Place in a greased pan with sides and let rise about 3 hours or until doubled.  If I need them to be ready sooner, I will preheat my oven on the lowest temp. for about a minute; turn it off and let them rise in the oven until nice and puffy.  Bake rolls at 350 for about 20 minutes.  You can brush with butter if you want.  They’re a little fragile right out of the oven, so I usually let them sit a few minutes before I get them out of the pan.  The entire recipe makes about 32 rolls.  You can easily halve the recipe.  

I will add that they are indeed fragile out of the oven.  Also, I think when she served them to us at the teachers meeting, she baked them in a 9x13 or something.  I baked mine on a flat stone.  Her's had a prettier tall shape and mine (since they were not as closely spaced and in a confined space), rose out as much as they rose up and were just not as tall.  Also, I think the overnight in the refrigerator is part of the wonderfulness of this recipe.  My old roll recipe is similar ingredient wise, but doesn't have that time.  I think that makes a difference.   Also, I didn't use a mixer like this recipe says.  I did it all by hand and no one suffered.

My poor sister is visiting next week and I can't make any of this wonderfulness for her.  Darn the gluten.  Darn all the gluten in the world.