Bee's birthday party is our next event this summer. It's a cake decorating party and Bee and I are busy planning away. I am sewing sewing sewing for it too!
Showing posts with label scrapbooking. Show all posts
Tuesday, June 19, 2012
You're invited!
Monday, December 26, 2011
snowflakes with 6 points
I mentioned making 6 pointed snowflakes the other day. Here's a bit more about that. You may become addicted and just want to cut and cut and cut snowflakes all day though. Fair warning.
We used origami paper because it's already square and is a very thin paper. We tried other paper with some luck, but origami paper worked the best. Scrapbook paper was a little too thick. Copy paper seemed the next best thing to origami paper.
Here we go. 1. Start with a square piece of paper. (I did step 2 before I took a photo, so it has a crease already- ignore)
2. Fold in half on the diagonal, one corner to the opposite. Crease.
3. Bring the two bottom corners up and together. Don't crease.
4. Hold those two corners together.
5. Crease the bottom, just to mark half way. Unfold back to the triangle.
6. You are folding it into thirds now. Using the little crease that marked half way along the bottom edge, bring one corner up. Fold and Crease.
7. Bring the other point across and fold and crease as well.
8. You may need to go back and adjust the first wing-like fold over to get these two folds equal.
9. Now fold this shape in half again.
10. Crease.
11. Cut off those uneven tails.
12. make cuts in the folded shape. unfold.
13. make a mess.
14. decorate your house.
We found that if you cut low on one edge and higher on the other, it created a flake with higher 6 points and 6 lower point; a more defined snowflake.
15. Repeat
Friday, August 19, 2011
clipboard save
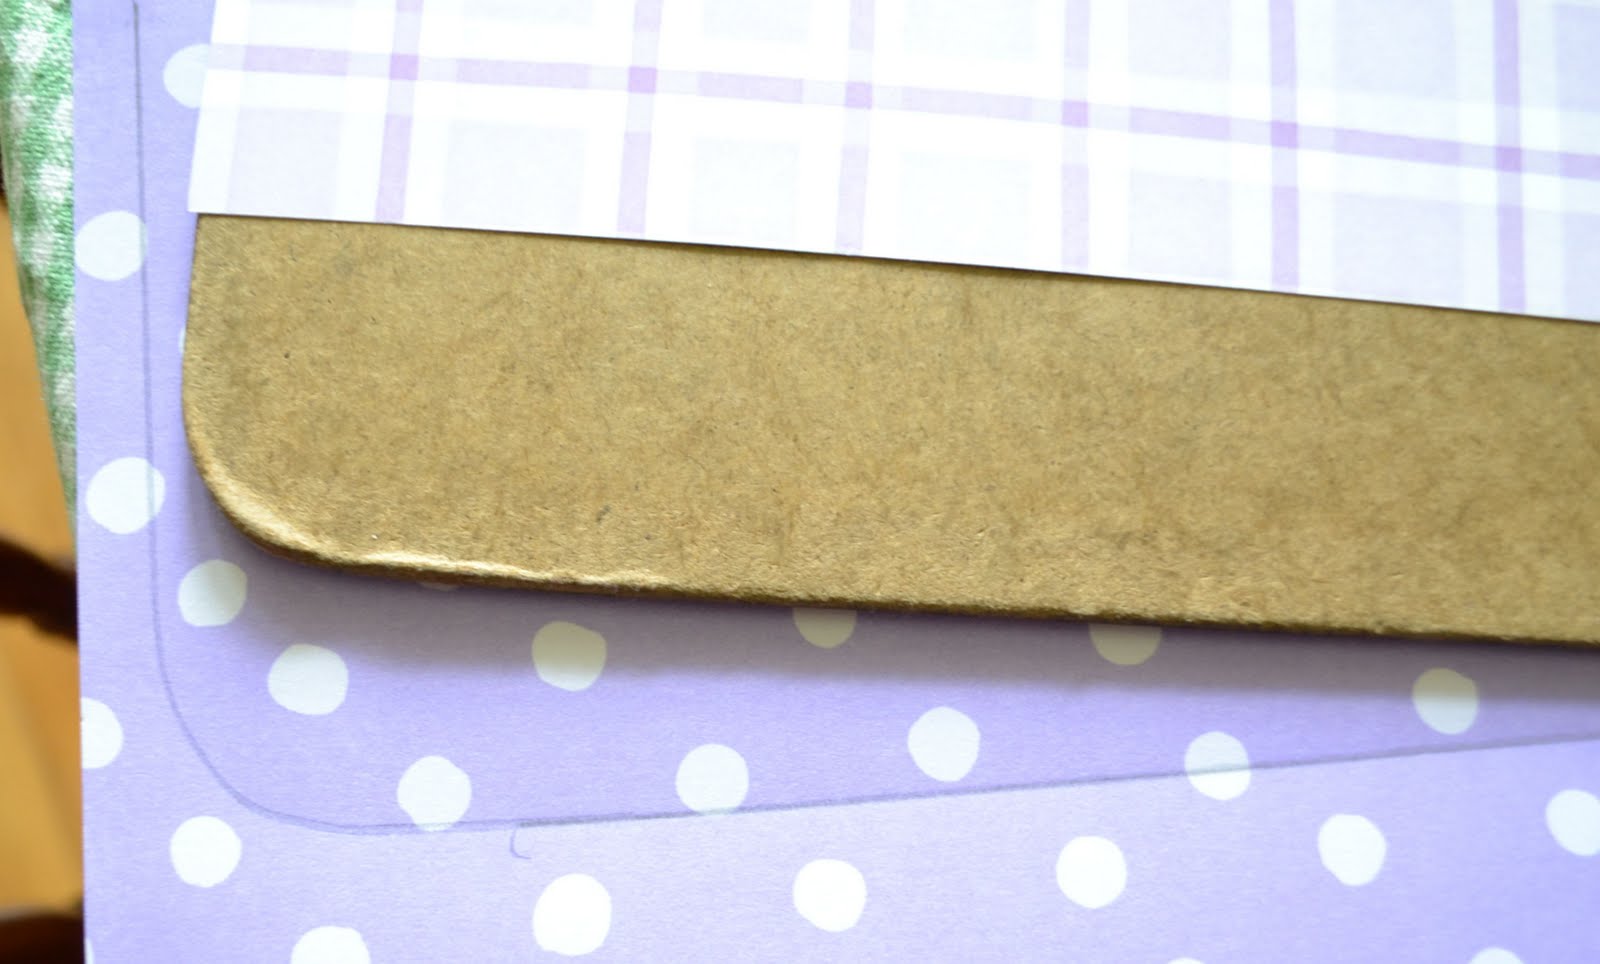
Bee needed a clipboard for school. A few weeks before school started, she found this gem at the recycle center. Clearly it needed some loven. That recycle center.... it's a treasure trove!
Bee chose some scrapbook paper from my stash and we traced the clipboard shape on the paper.
After cutting it out (and a quick trim to fit better) we marked the spot for the top hardware.
We cut and checked and trimmed and checked again until we got it just how we wanted it.
Our 12x12 paper was just a touch too short so we added a few inches of corresponding paper.
Then we modge podged the heck out of it. A layer of modge podge went down, then the paper placed on top. A little bit of smoothing down was needed, then another layer of modge podge was added. Working around the hardware was a little tricky, so we propped it open with a pencil while that part dried.
Bee wanted a little more fancy, so we added some 3-D flowers. They will be fine for Bee for this year, she's very careful with things. Usually. I have a similar one that was a gift from a sweet student. It has a cute ric rac glued on the area where the two papers are joined. It's cute, but not practical for a writing surface.
Tuesday, July 5, 2011
gumballs for good behavior
I've mentioned before that we are struggling with behavior at our house. Certain ones of us more so than others. We've tried a number of different behavior charts, etc, but in searching for more ideas, I found this gumball display with a sign reading 'chews wisely'. (I'm also seeing it at a bulletin board in an elementary classroom with some behavior plan worked in). We're really going back to basics with discipline stuff and it's stressful and embarrassment when we have to have a time out at the grocery.
I got this idea from Wendy from Craft Goodies. I made ours out of paper on hand in the not-being-used scrapbook supply box. We are earning paper gumballs for good behavior. Bee and Lou went to Bee's room the other day and started nicely playing polly pockets and batman guys together- gumball. They both did their summer schoolwork without complaining- gumball. We had a trip to the grocery with no crying (oh my goodness, surely we've all been there- drama!)- gumball. Bee had a friend over and Lou played along nicely- gumball.
We talked about a reward and rather than go with something gumball themed, the kids want to go to a nearby amusement park. Great choice. We've never been and were planning on taking the kids at the end of the summer anyway. I should get a gumball for that.
Here's Wendys. She uses it for activities to do with the kiddos this summer. It's magnetic and way fancy.
Tuesday, March 16, 2010
treasures dispalyed
My treasures from yesterday are too good to just sit on a shelf. I have plans to display several things. Here first, is the button display. I picked up a 12x12 shadow box frame from Joann's for 50% off. I tried out several different papers from my scrapbook stash.
I ended up going with the red paper.
Here are my favorite old button cards glued to the paper. It looks super cute on the wall in my sewing room.... well as good as something can look on wood colored paneling.
Thinking of ways to display old patterns.... Any ideas?
Wednesday, November 25, 2009
little something for the teacher
Whenever Bee is the leader at school, we like to take in a little something for her teachers. We have been so blessed this year with the teachers she has and the staff at her preschool. teaching isn't an easy job by far and these ladies sure need to be treated well.
The first time we took in these water bottles. This time, we took some bags of granola. I used our regular granola recipe and packaged them up as I saw somewhere online. I know I bookmarked it, but I can't find the link, I'm pretty sure it was the same site where I got the idea for the water bottles. Anyway, they are in plastic baggies- I had some larger bags from the candy making/cake decorating isle, maybe from Michael's or Joann's. I folded the top down a little since they are a little long. Pieces of scrapbook paper folded over the tops of the baggie get stapled on. I added the ingredients on the back since the granola does contain lots of different ingredients and you never know what food might make some get all hivey.
This would make a cute gift for neighbors or colleagues with really any homemade treat inside. The ones I saw online had cookies inside and the front said "You are sweet."
The first time we took in these water bottles. This time, we took some bags of granola. I used our regular granola recipe and packaged them up as I saw somewhere online. I know I bookmarked it, but I can't find the link, I'm pretty sure it was the same site where I got the idea for the water bottles. Anyway, they are in plastic baggies- I had some larger bags from the candy making/cake decorating isle, maybe from Michael's or Joann's. I folded the top down a little since they are a little long. Pieces of scrapbook paper folded over the tops of the baggie get stapled on. I added the ingredients on the back since the granola does contain lots of different ingredients and you never know what food might make some get all hivey.
Friday, October 23, 2009
refreshing treat for teachers
Back in August there were some super cute ideas for teacher gifts, sort of a welcome back to school, let's have a great year kind of gift. As a teacher who often got dollar store Christmas mugs as gifts, I have a great appreciation for thoughtful (useful, tasteful, and occasionally yummy) homemade gifts. I mentally filed this one away and thought it would be a cute thing for us to take the day we had snack at Bee's school.
I guess I didn't bookmark it, so unfortunately, I don't know where this idea came from, although I know it is not my own. If you have seen it somewhere and know, or it was your idea, I'd love to give you credit, please let me know.
Time to raid your scrapbook or crafting paper scrap box. For each, I used one piece of 10 x 3.5 inch paper (that will be the long hanging piece), a coordinating 3.5 x 3.5 piece (that will be the front color piece), a coordinating circle 1 11/16 (to go behind the letter), a typed letter/or letter sticker (you could also just write "Thanks" or something cuter like "you deserve a refreshing break," etc) cut in a circle 1 1/4 inch.
Take the long piece and cut out a circle to hang on the water bottle (I used 1 1/4 and it is just big enough). then fold that back to make a crease about 3/4 inch past the hole. Also, fold it up at the bottom 3.5 inches. This will make the pocket.
Glue the letter to the colored circle. Glue these two pieces to the front piece. Glue all of this now to the blank folded side at the bottom of the hanging tag. I put a thin strip of glue on the insides of the pocket too, then used a tiny hole punch and two small brads. Insert the packet of flavoring and hang on the water.
Friday, October 16, 2009
10 years ago

10 years ago today hubby and I were married. We look so young in the pictures, but it's only because we really were young. We got married in college over fall break. I think we had two days off of school plus the weekend and then I returned on Monday with a different last name. I can't believe my mom said yes when my sweetie asked permission to propose. She did make him promise that I would finish my degree and we wouldn't have kids until that was done. Good enough.

I was pretty pleased at the time with the photography. If this was happening today, I'd be excepting a whole lot more. This was a tidbit before people used digital. I remember the photographer telling us how the whole digital photography thing was never going to come into play with professional photographers because film is SO much better. He may be out of business now. My mom had a digital camera at the time that she borrowed from work (it was so large!), but I remember we didn't take but a few pictures on it. What would you do with images on your computer? The whole idea seemed silly. You really couldn't even really print them out nicely... why bother.

I loved my dress and only could afford it because I got in a minor fender bender that summer. I received a check for the slight damage to my car and bought a wedding dress. I had taken it to an overpriced repair shop to purposely get a larger estimate. I remember going into the dress shop and saying I have exactly ___ (I don't even remember anymore), the amount on the check. I do believe my total came out exactly. I don't fit into that dress anymore. I was pretty sure at the time that I always would. Oh to have a waist again (and be so young and naive!). I tried it on several months ago and laughed a little when I could not budge the zipper a single inch. Then I tried it on Bee and it was all kinds of big and baggy. She thought it was just great. I don't hold out any hopes that she will want to wear it on her wedding day. I have thought seriously about just consigning it before it is laughably out of fashion. I think it will stay in it's box wrapped in a cabbage patch bed sheet until another day.
Friday, August 28, 2009
Bird watching
I have mentioned before that I am not a fan of birds, however, I do not want my kids to have my unnecessary fear of birds (I don't want them to get their faces pecked either- so perhaps a small level of fear is healthy!) so I try to be cool about it around them.
We have a mama mourning bird bird nesting on our porch eves. This week her babies were born. The kids have been so interested in watching her behavior and trying to sneak peaks of the babies. We also added a humming bird feeder and had our first humming bird within the hour. Bee has been pointing out every bird in the yard and asking questions about it.


We have a mama mourning bird bird nesting on our porch eves. This week her babies were born. The kids have been so interested in watching her behavior and trying to sneak peaks of the babies. We also added a humming bird feeder and had our first humming bird within the hour. Bee has been pointing out every bird in the yard and asking questions about it.
Yesterday, we put together a little bird watching book so they can identify the birds they see in our yard. I need to add a ring in the corner, but I can't remember where I put them. Bee is wondering where the Herrings and Ibis are. I didn't need to include the flamingos either. We had a lovely flock of flamingos we would sometimes see at the bay.
The pages are just images I found on google and the kids glued them to card stock. I covered them in contact paper. I added a few details to the cover by stitching on some ribbon using the zig zag stitch on my sewing machine. Then I hot glued on the bow. Add some binoculars and hang them near a good bird watching spot and you are ready to go!
Here are some fun bird crafts we did a few month ago at our co-op preschool.
Subscribe to:
Posts (Atom)