Showing posts with label MamaBeeDesigns. Show all posts

Friday, November 18, 2011

testing testing.

'cause I'm trying to learn new things. 
You want one too, right?  Go here- It's easy peasy:

Thursday, October 6, 2011

mamabee sweat shop

I'm bringing in cheap labor.  Lou and Bee started taking an interest in sewing this summer when I was teaching some lessons out of the house.  They were jealous and asked immediately for their own sewing lessons. 


They both sew remarkably straight lines. Pretty soon I'm going to be able to outsource.  The best part is that they work for candy.


We propped the foot pedal up on a shoebox and the kids are able to do it all by themselves.  Bee has started a quilt, wait until you see her fabric choices!


Tuesday, July 26, 2011

tags - the most awaited package all year

I finally did it.  I ordered tags.  Real tags.  It took almost a month to get them, but they are safely tucked away in my top drawer ready to be sewn in.  I had decided that when I hit my 300th etsy sale, I'd look into it.  I ordered 300 to celebrate 300.  That and that's kinda the middle option for the number you could order. 


I am pretty much in love with them. There were many options, but I went with a fold over  tag that can be sewn into hems or seams.  They are pretty similar to my old tags except that they are embroidered rather than printed and pretty much rock.  They are exactly what I was looking for!


Here are my old tags. Nice enough, but not as awesome.

Monday, June 27, 2011

winners

I just stink at giveaways.  I'm not sure what the deal is.  But because I stink at giveaways (and I say that because I had all of three entries) and am not the best business woman, I am making all of my entries winners.  That right, all three people who entered are winning a lovely prize:  my new Diego bag and Dora pattern.  


So, I'm emailing Monday the pattern and directions to Danielle, my sister in law's sister in law, who blogs over at Thrifty Craftin' Mama. Also to Jess_Hak, who other than my grandma seems to be my most loyal reader, who blogs over at The Preschool Experiment.  She shares my love for the _ underscore_ and for garage sales.  Also to e.e.b.wyatt who I spent a lot of time in art class with in high school and I think was on my soccer team.  You think I'd be able to remember that better.  She found out about my giveaway from facebook.  Well, congratulations.  

I guess that's that then.

Thursday, June 23, 2011

pattern added to shop (giveaway closed)

I have listed my first pattern for sale in my etsy shop, Mama Bee Designs.  It's for the Diego Rescue Pack and Dora Backpack.  I'm super excited to have it completed and would love to give away a copy this week.

 If you have a Diego or Dora fan at your house then your little animal rescuer needs their own rescue pack or back pack!

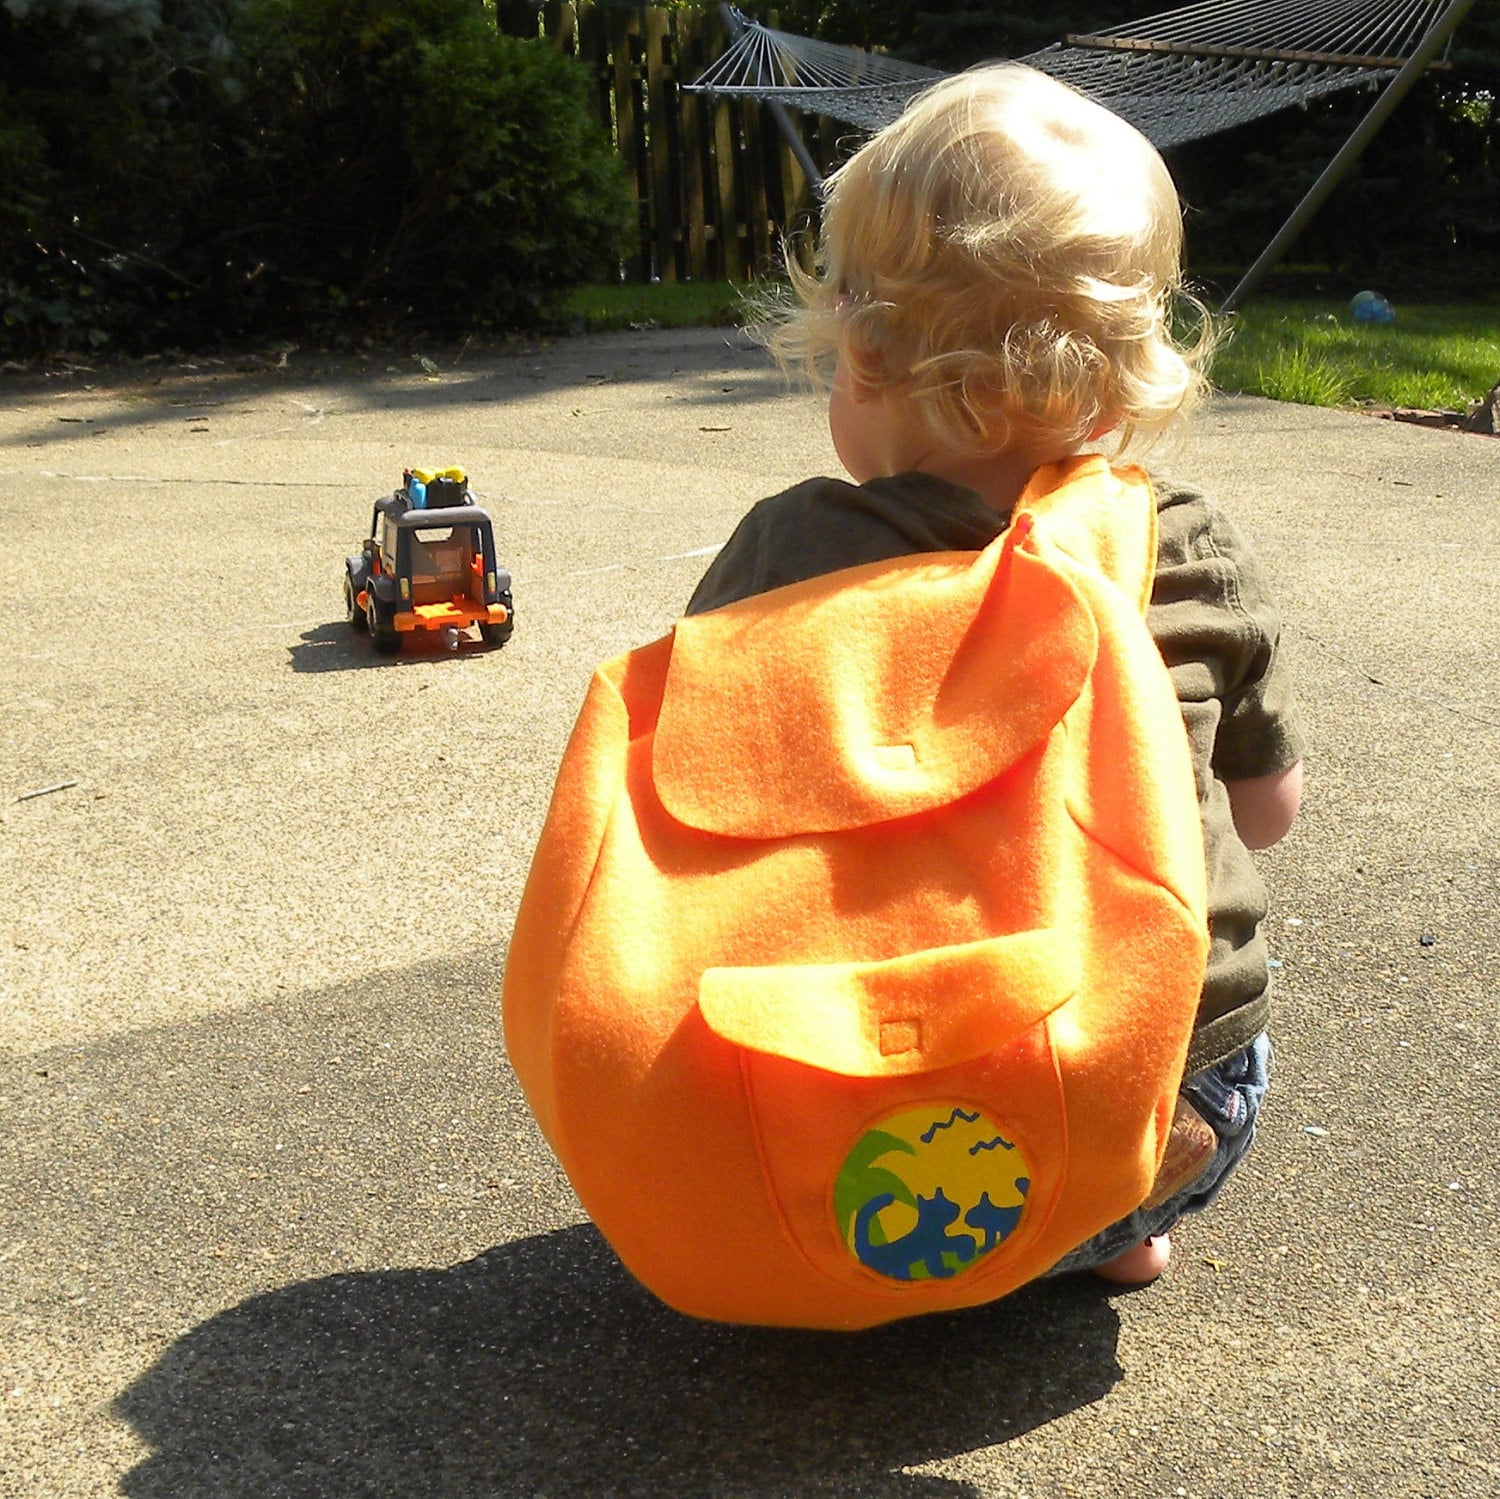
My little animal rescuer decided one day that she HAD to have a rescue pack. I scoured stores and online shops and I was slightly disappointed at the choices available. I decided to make one myself and was pleased at the results. While it does not turn into a hang glider, mud board, or hot air balloon, as does a real rescue pack, it’s pretty good for the amateur rescuer!  That was over 2 years ago.  My Diego rescue pack has continued to be one of my best selling items.  I have been asked several times for a pattern, but have just now finally got one together. 


This pattern and photo tutorial will guide you through the construction of a Diego rescue pack and a Dora backpack. Both bags are made from less than 1 yard of fleece and sewn into a backpack with a top flap and either front or side pocket. It fastens with Velcro. I also included directions for a hand painted rescue patch as well as the 'face' for the front of Dora's bag. The Diego bag has one strap like Diego’s and is worn across the back. Dora's bag has two over the shoulder straps. 

The directions are thorough and easy enough for a even a beginning sewist. Other supplies you will need include a small amount of sew in velcro, coordinating thread, and a small piece of thick fabric or canvas for the optional patch. 

The pattern and directions are broken up into two pdf files. The purchase of this pattern allows you to use this pattern to make as many bags as you like, however I ask that you not email it to others or share or sell the pattern. I am happy for you to make and sell bags at craft fairs and such on a home based business scale. I ask that you not sell the pattern or completed bags on etsy. I already do and it wouldn't be cool. 

So anyway, if you'd like to win a copy of this new pattern, leave a comment and tell me who you'd like to make a bag for.  Leave a separate comment if you are a follower.  I'll randomly choose a winner Sunday night June 26th.   GIVEAWAY NOW CLOSED

Sunday, April 3, 2011

little man's work pouch

This little man's tool pouch has been a popular item at our house lately.  I made up the first one when one of the little guys in my preschool class began carrying all the tools from the playroom in his pockets.  Front pockets, back pockets, he even unzipped his pants and was carrying them in his fly.  I said, "He needs a tool belt."  He now runs for the tool belt first thing.  No more need for any pant unzipping.  Crisis averted. 


Lou wanted one, then another friend wanted one.  I decided to go ahead and make up one for a tutorial and stick a few in my shop.  Might as well. 

Want to make one too?  You can use whatever fabric you want.  This is from a pile of fabric my (too early in the morning) gym partner and neighbor gave me.  Thanks Abbey!


You will need to cut:
50x4 inch for the strap
9x15 in. for the back piece
8x19 in. for the front piece


These directions are vague a bit, I hope you can figure out what's going on. 

1.  Turn the front piece back at one of the long edges, twice.  Create a little hem and sew in place.

2.  Fold and pin the strap however you like to make a strap.  I folded in half, ironed, opened it up and folded both raw edges inward, then folded in half.   Don't sew yet. We're going to kill two birds with one stone in a minute.


3.  Place front piece on back piece.  Keep the previously sewn edge up (right sides together).  Line up the two side edges and pin in place.  Create three little pleats and pin in place at the top and bottom. One should be in the middle and the other two half way from middle to the edge.

4.  Sew along side, bottom, and opposite side edge of the two piece.  (Only where the two pieces touch)


Do you smell that, is it just in my sewing room?  Geesh, that potting soil sure smells fresh!  Form the farm fresh!


That, or it's the sweet potatoes starts.  Blah.


5.  Flip.


6.  Iron.  Fold those pleats back in.  Pin and iron in place.


7.  Sew sides, bottom, and opposite side again.  This time, sew the entire length of the sides.  Also sew a straight line halfway in between each pleat.  This will be a total of two sewn lines creating three pockets.


8.  Fold down the top edge of the pouch, this is the last raw edge.  Iron.


9.  Take that strap, still unsewn and pin it on to the pouch.  You'll want to find the center of the strap and line it all up properly.  Sew along the edges of the strap, all the way around, close to the edge.


10.  Double check to make sure all the parts have caught during the sewing on of the strap.


11.  You can leave it as is or add some painted tools.  If this is going to be a garden belt, a painting belt, whatever- you can find images for that.

I googled 'tools clipart' or somthing like that and found a few tools I liked.  I printed them out, traced them onto freezer paper, cut out the freezer paper,


ironed it waxy side to the fabric,


 painted, let dry.  Peel off the paper and the tool belt give it to the tool man.


He'll get right to work.

He might have time for a quick pose.


But then it's back to work.

Hard at work.  The tongue out helps him concentrate.


If you want a tool belt, but already have a long to-do list or can't seem to clear the kitchen table off long enough to dig out the ol' sewing machine, I have a few  for sale in my shop. 


Then your tool man can get busy.


I'm linking up to some of these fine parties, won't you join me.


Made by You Mondays @ Skip to my Lou,

Tutorial Tuesdays @ Hope Studios,   Anti-procrastination Tuesdays @ New Nostalgia, Talented Tuesdays @ My Frugal Family,  Get Your Craft on Tuesday @ Life as Lori,  Toot Your Horn Tuesdays @ Silly Little Sparrow, 

Wow Us Wednesdays @ Savvy Southern Style,  Whatever Goes Wednesday @ Someday Crafts,  Show and Tell Wednesday @ Blue Cricket Design, We did it Wednesday @ Sew Much Ado

Strut Your Stuff Thursday @ Somewhat Simple,   Look at me, I'm so crafty @ It's fun to craft,

Feature Yourself Fridays @ Fingerprints on the fridge,  Fantabulous Fridays @ Momma's kinda crafty,  Fridays I'm crafty Party @ So You Think You're Crafty,  Fibers on Friday @ Visions of Sugar Plums,  Christmas in July Fridays @ Just Another day in Paradise,  Fabric Fun Fridays @ Cheap Chic Home,  Creative Girl fridays @ The Girl Creative,

Tuesday, November 23, 2010

shop news

I have some fun new things listed int he shop. With the move this month, I'm trying to have more ready to ship items this season, instead of my normal all custom orders. Those really get me at this time of year! I have more things to list, just need to get them photographed and listed.

Produce bags and drawstring bag holders


Earring frame holders


eye spy bean bags


new coffee cozies


Thursday, November 18, 2010

take one thing off the list

I'm crossing one thing off my list, getting things ready for the craft show. I'm just sneaking stuff on the edge of my neighbors table really. I get bored making more than a few of most things, so it's an assortment of items. 3 earring frames, 4 produce bag sets, 3 buttercup bags, 4 eye spy bags, 2 nursing covers, and 35 coffee cozies. Whatever doesn't sell this weekend is stocking the shop next month.

Saturday, October 23, 2010

earring holder from a frame

It's been awhile since I've had a fun remake. My mom and I came up with this one. She was looking for an earring holder that wouldn't take up much room. I think our finished frame came out super cute and would make a fun gift.

I think it's going to be our annual 'Thanksgiving girls project' with my sisters. Last year my sisters and I worked on this headband. The year before it was jersey knit scarves. The year before I think it was some type of jewelry project.


Here's what you need for this quick remake earring holder.

1 empty frame
a piece of screening- the soft window screening kind (this can come on a roll or can be a scrap from a damaged window. (It happens!)
hot glue or other favorite strong glue
some kind of decorations- We used fabric flowers


Take all the insides out of your frame. Cut the screen to the size of opening. You'll be gluing this inside the back of the frame. Not to the back of the frame, but to the inlaid opening where the glass fits into.


Glue in place carefully. You don't want the glue to sneak over to the other side. I fit the screen in and then added the glue right on top. the glue dropped itself into place through the screen holes.


This is the picture I took out of this frame. Isn't this picture cute? It's one of my favorites. That's my dad and my youngest sister on my wedding day. That little flower girl drives a car and takes pictures now. That day she kept smelling the flowers and making up new scents for them, pizza and bread.

Decorate however you like.


I used fabric flowers. They are all over the blogosphere right now. There are lots of tutorials out there right now about how to make them. I just tore off-white muslin in about 1 inch strips. The strips were about 1 yard long to start. I tied a loose knot at the end and then started slowly wrapping and twisting the strip around to make the petals. You could glue the fabric in place, but I stitched the turns in place with thread by hand.

We also used a piece of the same 1 inch torn muslin for the hanger. We wanted leaves too, so we added some torn pieces of an olive greenish fabric too. I think an oversized piece of old jewelry or some other decorative piece would look nice as the finishing touch.


Just add earrings. Apparently I need more earrings!

My mom's frame was the square one and the opening was roughly 7 inches by 7 inches. The opening for mine is a 5x7. It holds fewer earrings that hers. I wouldn't go any smaller than a 5x7.

If you make this project, I'd love to see your work. Leave me a comment with a link to your blog or your flickr page, or email me directly. Happy remaking!

I linked up with these fine folks this week:

such as: